


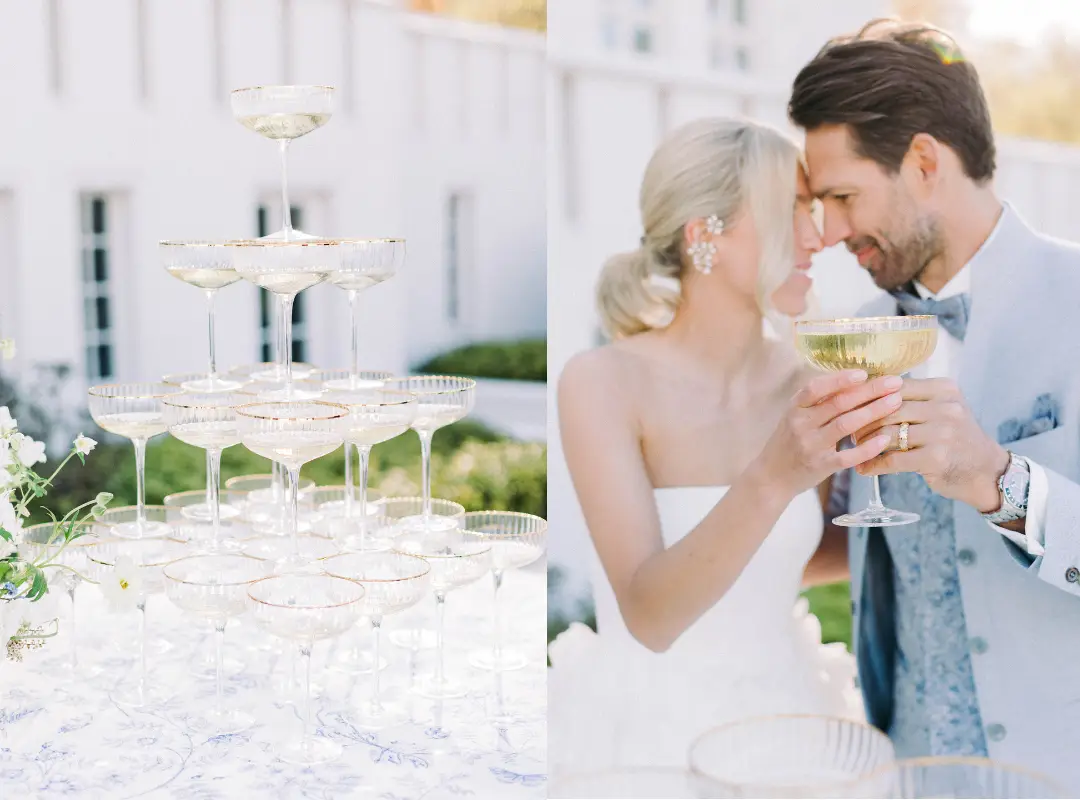
Have you ever longed for a way to impress your guests at a party with a stunning champagne pyramid or sparkling wine pyramid? A glittering cascade of bubbly champagne that makes eyes light up and lifts the mood to a whole new level? Probably yes, because you've probably landed right here in search of it. Follow our simple step-by-step guide and let yourself be enchanted by the magic of a homemade champagne pyramid. Get ready to wow your guests with a spectacular eye-catcher that will live long in the memory!
Step 1: Choose the right glasses for your champagne pyramid or sparkling wine pyramid
When building a champagne pyramid, it is important to choose the right champagne glasses. It is best to choose glasses of the same size and shape to ensure an even and visually appealing pyramid.
As much as we love beautiful champagne flutes, you shouldn't use them when building your champagne tower. Champagne bowls, also known as champagne coupe, are best, as their wide opening provides stability and makes it easier to stack and pour the glasses. It is also important that all glasses are identical. In our range you will find a selection of suitable champagne bowls in different variations and colours.
Simply hire glasses for your champagne pyramid or sparkling wine pyramid
- Shipping Europe-wide -
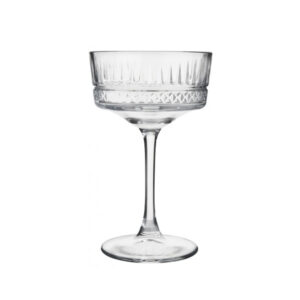
Champagne bowl MIAMI

Champagne bowl CHARLESTON
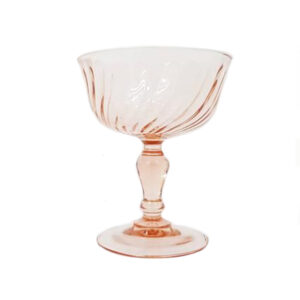
Champagne bowl JARDIN

LUIGI BORMIOLI CHAMPAGNE COUPE JAZZ, 4 PCS-SET
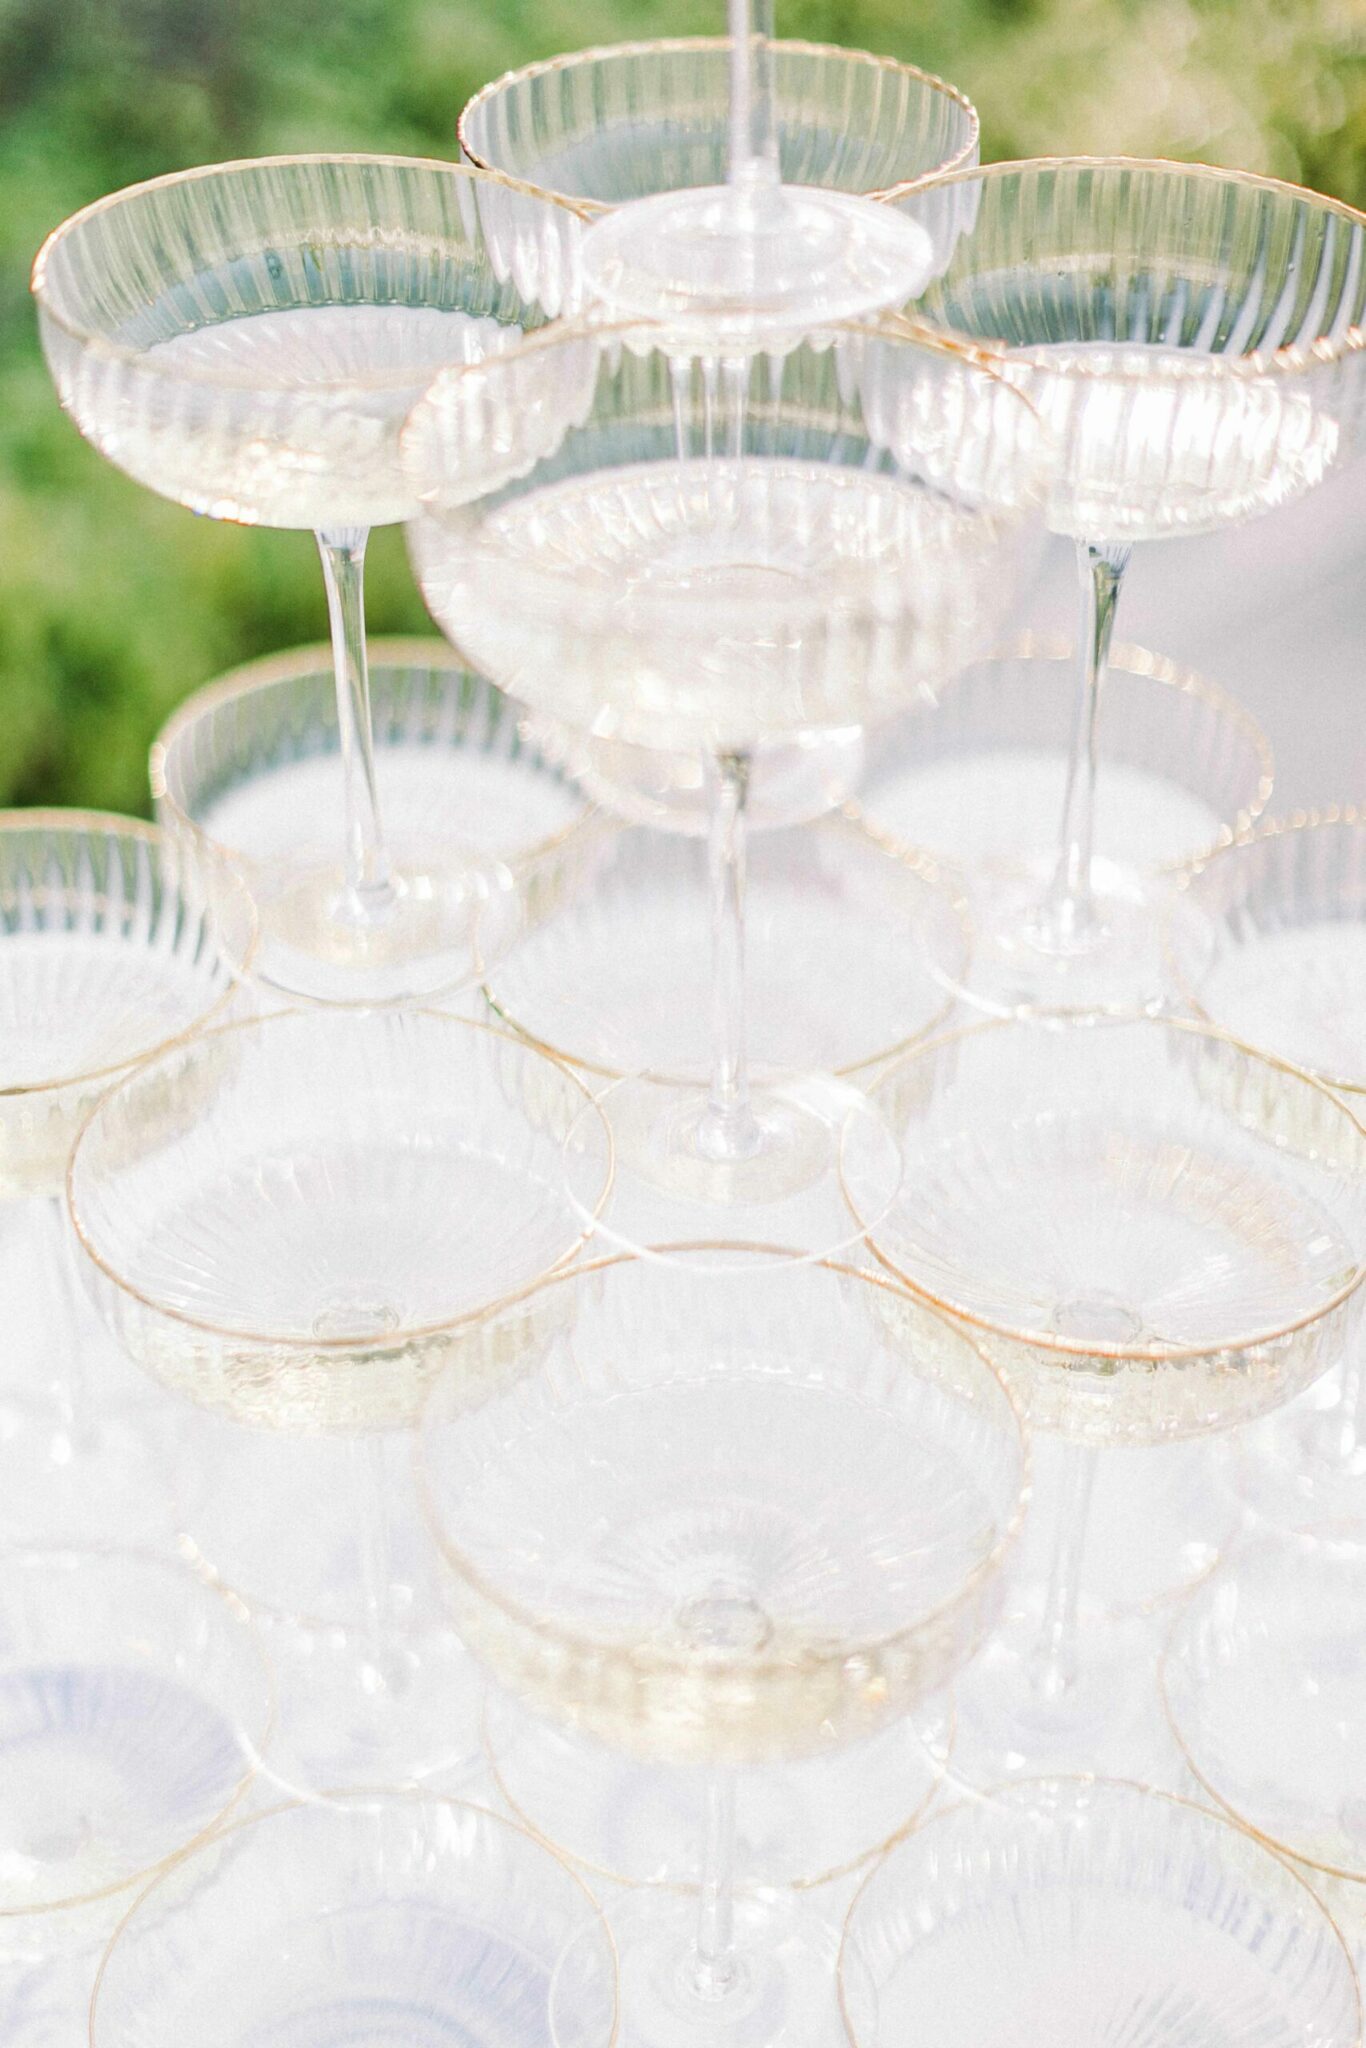
Step 2: Start with a stable base
The next step in building a champagne pyramid or sparkling wine pyramid is to create a stable base. This provides stability and support for the rest of the pyramid.
We cannot emphasise enough how important it is that the base of your champagne pyramid is stable. Please use a sturdy table, not a wobbly side table - unless you're planning a hen party and want champagne and broken glass on the floor.
Tip: If you are using a wooden table as a base, which should not get wet, we recommend placing a film or water-repellent tablecloth under the tablecloth. When pouring the champagne, something can spill, even though this shouldn't happen, so the high-quality table won't be damaged.
Make sure the base is level and secure before moving on to the next step. Once you have a stable base, you can start stacking the champagne glasses on top to build your champagne pyramid.
Step 3: Build the champagne pyramid level by level
To build the pyramid level by level, start by placing a single champagne glass in the centre of the base. This serves as the centre of the champagne pyramid.
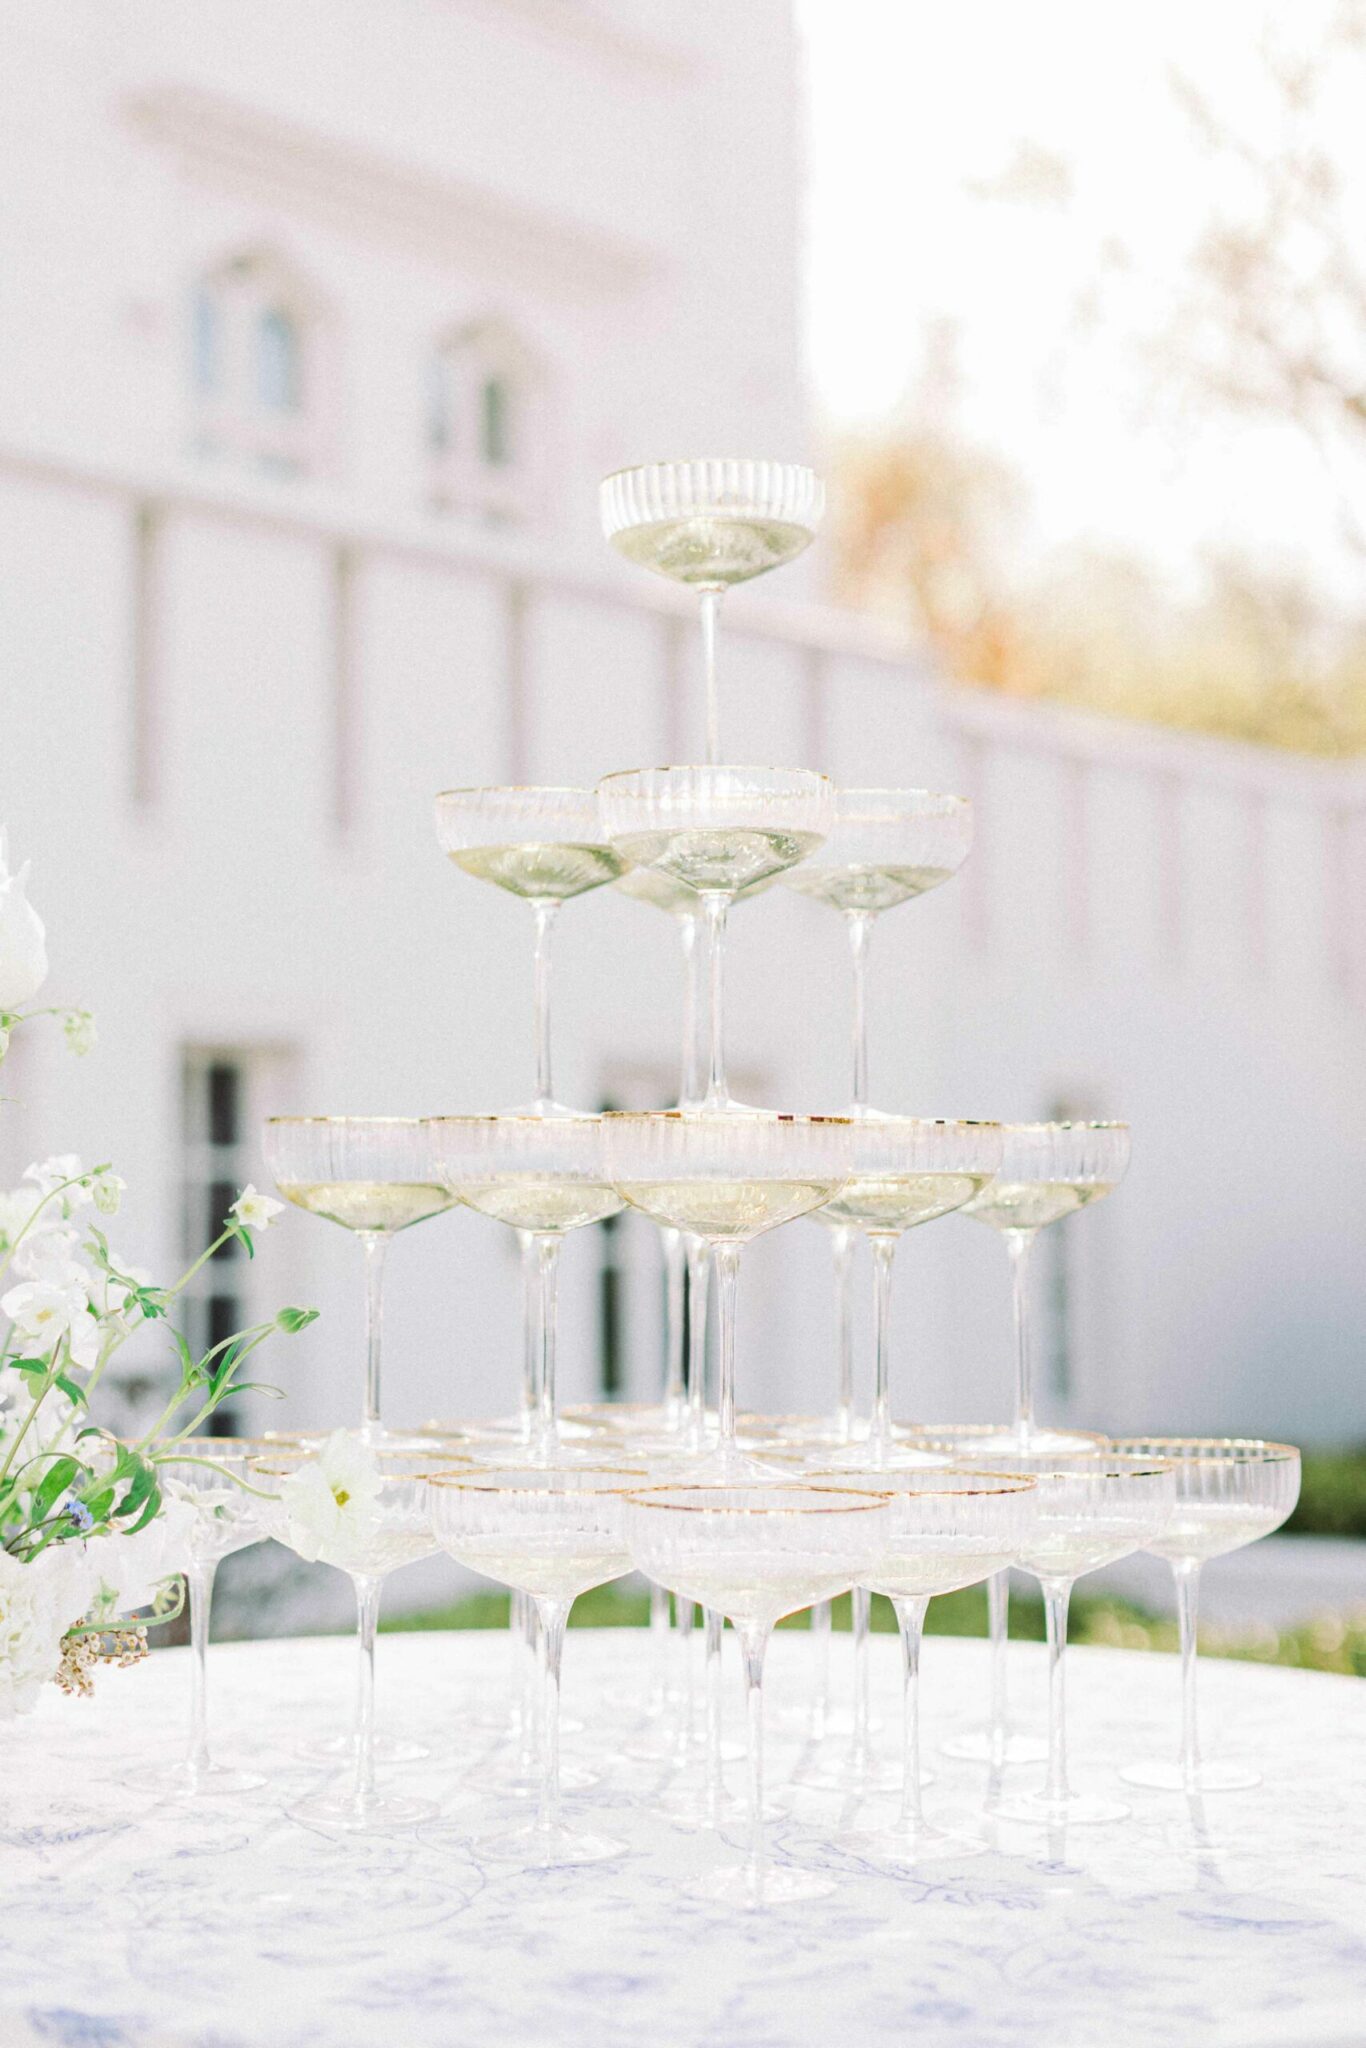
The tower is built by creating squares that get smaller as the height of the tower increases. The tower in the pictures that we have built has a base of jars that is four jars by four jars. The next level is three jars by three jars, then two jars by two jars and finally a single jar sits on top. If you want something bigger, for example by starting with a base of ten jars by ten jars, then your next layer would be nine by nine, then eight by eight and so on.
So how many glasses do you need for a champagne tower?
Here is a little "cheat sheet" on how many glasses you need for a champagne pyramid:
3 levels | 15 jars (1st level: 9 jars, 2nd level: 4 jars, 3rd level: 1 jar)
4 levels | 30 jars (1st level: 16 jars, 2nd level: 9 jars, etc.)
5 levels | 55 jars (1st level: 25 jars, 2nd level: 16 jars, etc.)
6 levels | 91 jars (1st level: 36 jars, 2nd level: 25 jars, etc.)
7 levels | 140 jars (1st level: 49 jars, 2nd level 36 jars etc.).
8 levels | 204 jars (1st level: 64 jars, 2nd level: 49 jars, etc.)
TIP: Work out in advance, based on the height of the glasses and the height of the table, how high the champagne pyramid will be and whether you can still reach the top glass for pouring without a ladder.
Build up the champagne pyramid level by level.
When building the champagne tower, it is important that each glass is closely adjacent to the other glasses. If you do this correctly, four adjacent glasses will form the shape of a diamond. The glass on the next level should be placed in the centre of the diamond below. This will ensure that none of the good drop is lost when pouring. .
When you've placed the last glass on the champagne pyramid, it's time to take a step back to admire your stunning work.
If this is all too complicated for you, you can also hire a complete champagne pyramid from our decoration hire service. All you have to do is select the required size based on your guests. We will then deliver the champagne pyramid to you, including the assembly plan.
Step 4: Pour the champagne
Now comes the part that's the most fun! But it also requires a little patience and dexterity. If you do it right, it will look super cool in the end.
Slowly begin to pour the chilled champagne into the glass on top of the tower and allow the champagne to overflow. The overflowing champagne will then trickle into the glasses on the level below and fill them until they overflow and fill the glasses below and so on. In a perfect world, the champagne would now spread evenly into the lower levels, filling all the glasses below. Unfortunately, this won't happen. You will most likely have to refill the side glasses so that all the glasses are evenly filled and the weight is evenly distributed across the champagne pyramid.
How many glasses can I fill with one bottle of champagne or sparkling wine?
And if you are now wondering what quantity of champagne or sparkling wine you should calculate for your champagne pyramid, you can remember a simple formula: one 0.75 litre bottle per 5 champagne flutes.
As not all champagne flutes are the same size, we have put together a formula for you to easily calculate how many bottles you need for your champagne pyramid or champagne tower.
TIP: The capacity of the Champagne flutes can be found in the article description in our decoration hire.
Of course, sparkling wine, prosecco, cava and even sparkling cider will work here instead of champagne, but at least you went to the trouble of building the tower. So why save money now? It's worth crowning the champagne pyramid with champagne too and celebrating the special event with a touch of luxury and elegance. The champagne rounds off the overall experience and gives the moment an incomparable glamour. Treat yourself and your guests to full enjoyment and savour the sparkling pleasure of a first-class champagne.
With our step-by-step instructions, solid coupe glasses, a stable base and a steady hand, you can master even huge champagne towers...
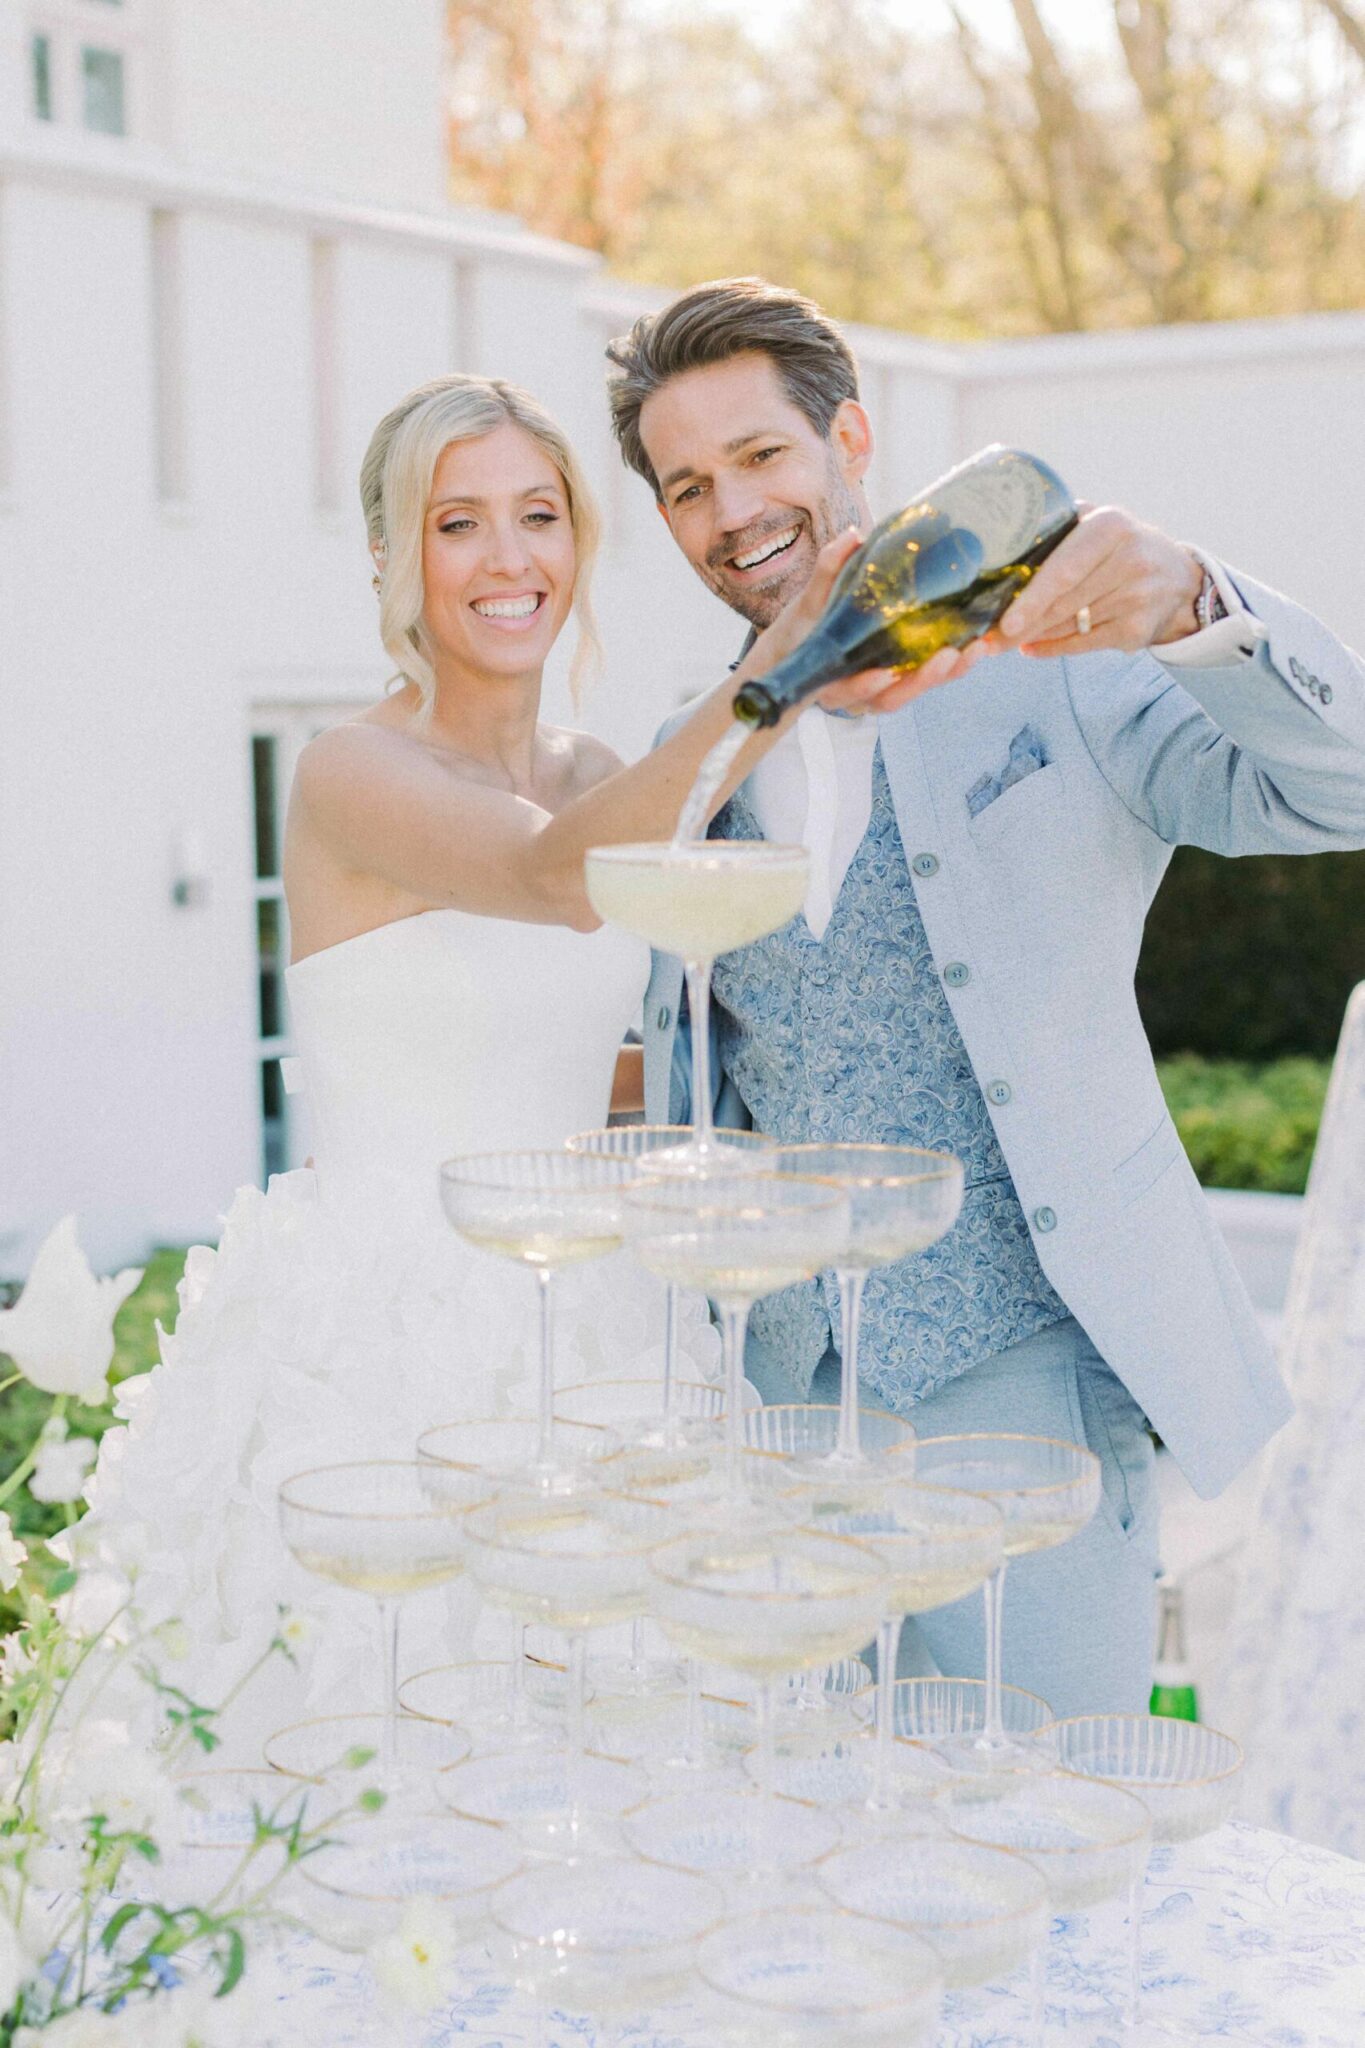
For weddings and larger celebrations, many couples choose to hire a champagne pyramid instead of putting together the materials themselves.
Information on hiring the champagne pyramid can be found here: Hire a champagne pyramid.
If you are specifically looking for inspiration and tips for use at weddings, we have a separate page for this: Champagne pyramid for weddings.
Enter your text here...
Photos: Anja Schneemann Photography